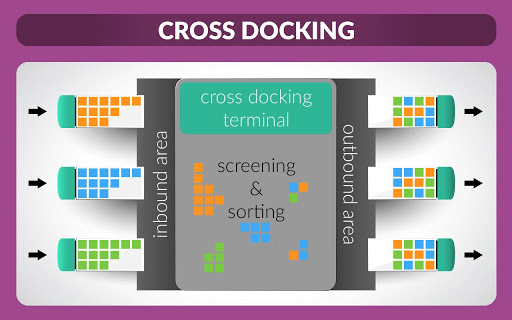
Cross-docking is the process of sending products that are received directly to the customers, without making them enter the stock. The trucks are simply unloaded in a Cross-Dock area in order to reorganize products and load another truck.
Note
For more information on how to organize your warehouse, read our blog: What is cross-docking and is it for me?
Configuration
In the Inventory app, open and activate the Multi-Step Routes.
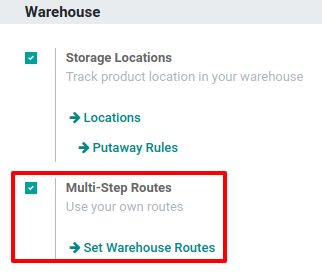
Note
Doing so will also enable the Storage Locations feature.
Now, both Incoming and Outgoing shipments should be configured to work with 2 steps. To adapt the configuration, go to and edit your warehouse.
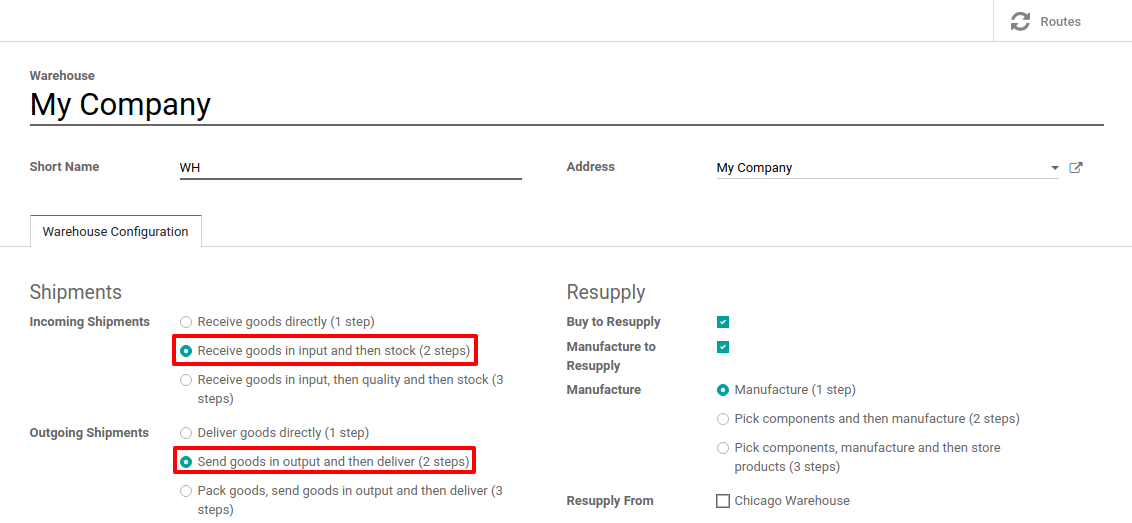
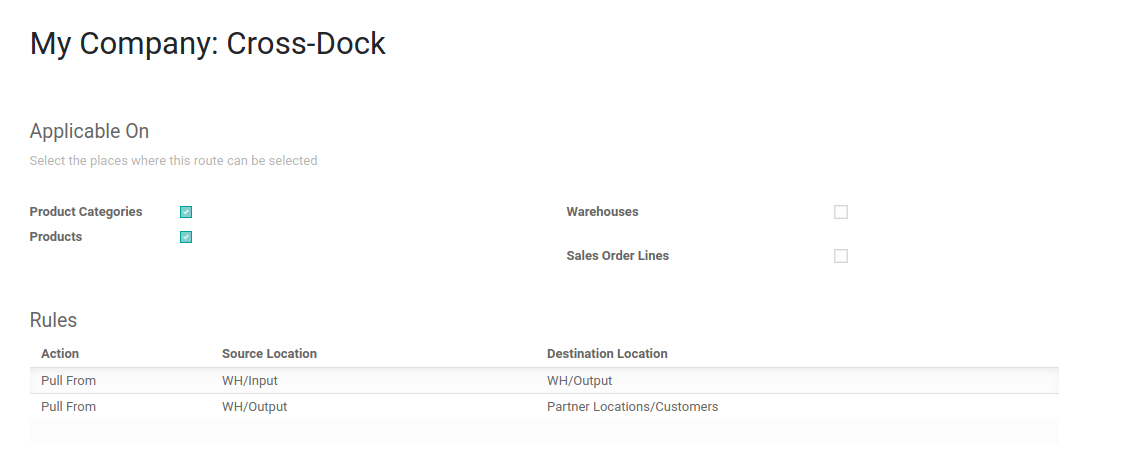
This modification will lead to the creation of a Cross-Docking route that can be found in .
Configure products with Cross-Dock Route
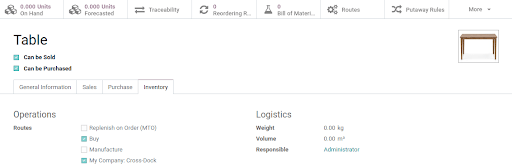
Create the product that uses the Cross-Dock Route and then, in the inventory tab, select the routes Buy and Cross-Dock. Now, in the purchase tab, specify the vendor to who you buy the product and set a price for it.

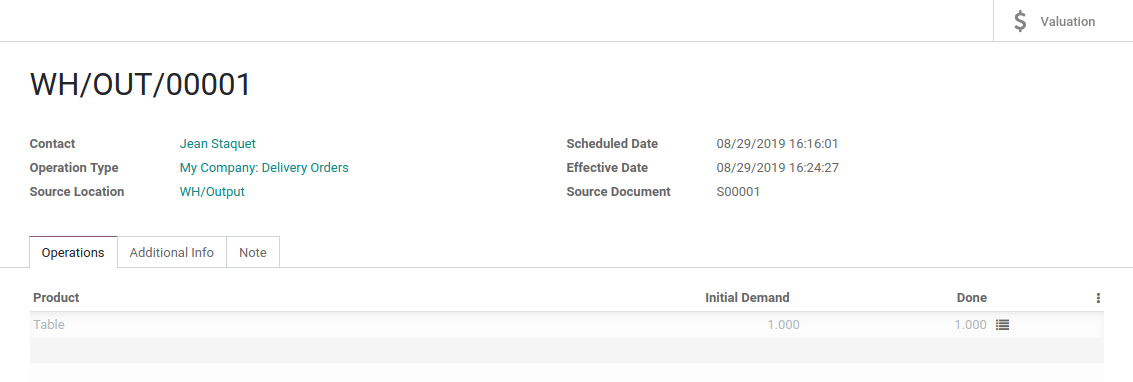
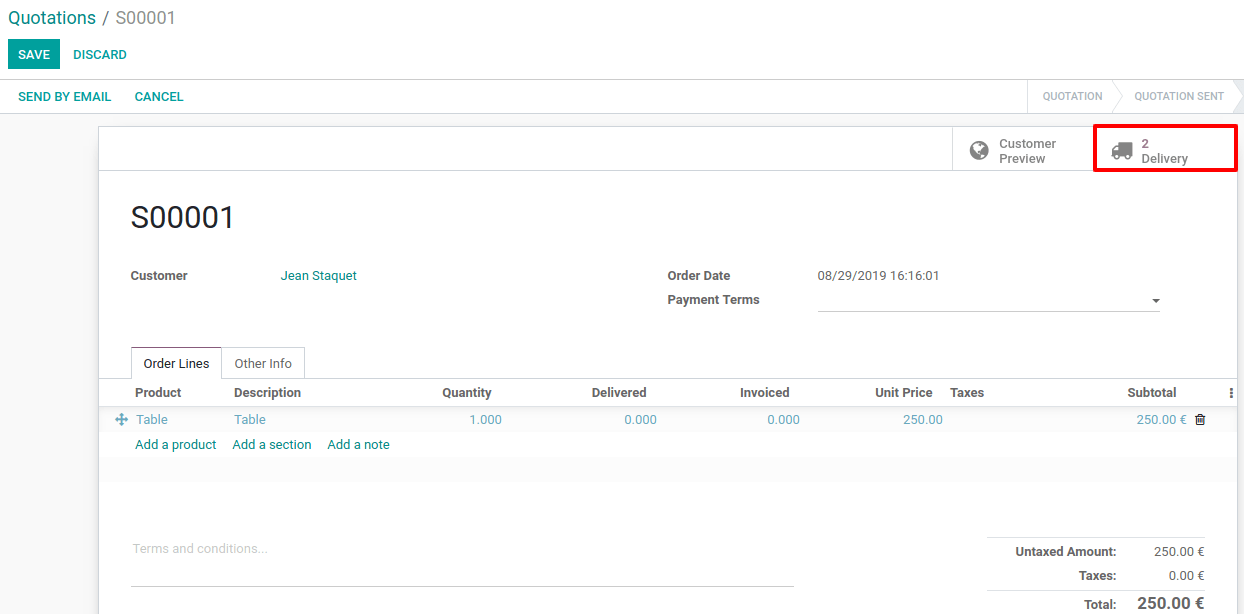
Once done, create a sale order for the product and confirm it. Odoo will automatically create two transfers which will be linked to the sale order. The first one is the transfer from the Input Location to the Output Location, corresponding to the move of the product in the Cross-Dock area. The second one is the delivery order from the Output Location to your Customer Location. Both are in state *Waiting Another Operation because we still need to order the product to our supplier.

Now, go to the Purchase app. There, you will find the purchase order that has been automatically triggered by the system. Validate it and receive the products in the Input Location.

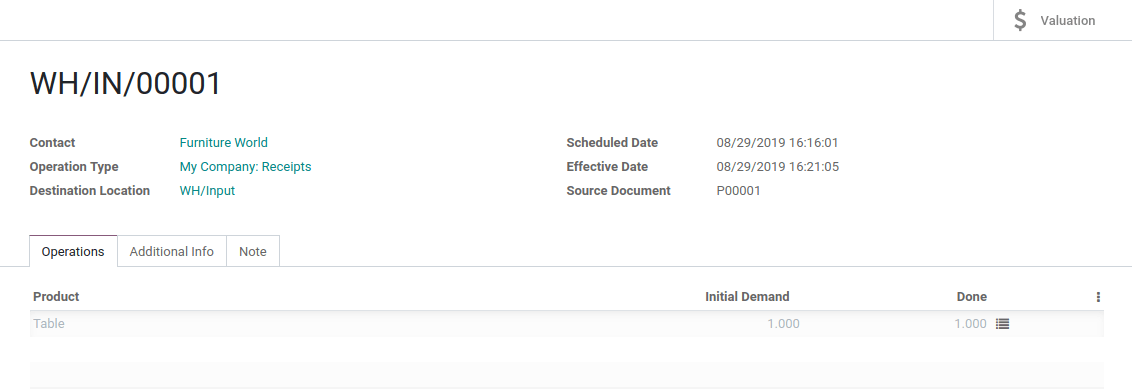
When the products have been received from the supplier, you can go back to your initial sale order and validate the internal transfer from Input to Output.


The delivery order is now ready to be processed and can be validated too.