When using your IoT Box in Odoo, you could need to use a camera. As it can be done in a few steps, this device is really easy to configure. Then, you can use it in your manufacturing process and link it to a control point. Doing so will allow you to take pictures when you reach the chosen quality control point.
Connection
To connect the camera to the IoT Box, simply combine the two by cable.
Note
In some cases, a serial to USB adapter could be needed.
If your camera is a *supported one*, there is no need to set up anything as it will be detected as soon as it is connected.

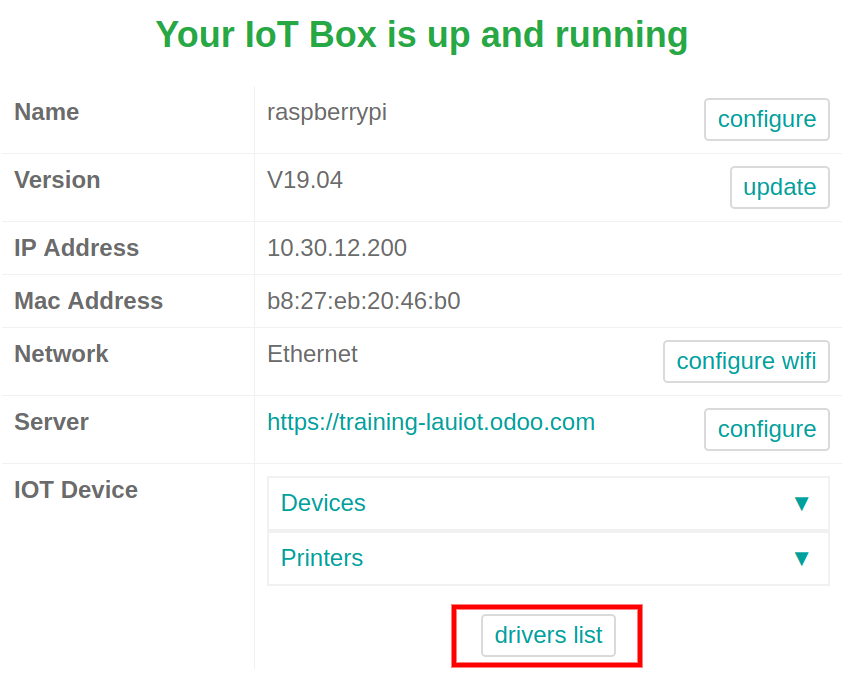
In some cases, you could need to restart the box and download your camera’s drivers from the box. To do so, go to your IoT Box Home Page and click on drivers list. Then, click on load drivers.

Link a Camera to a Quality Control Point
With the Manufacturing app
In your Quality app, you can setup the device on a Quality Control Point. Go to the Control Points menu, under Quality Control and open the control point you want to link with the camera.
Now, you can edit the control point and select the device from the dropdown list. Now, hit save.

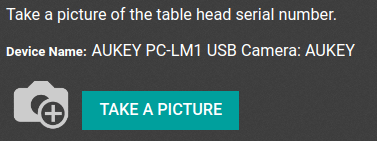
Then, your camera can be used with the picked Control Point. During the manufacturing process, reaching the Quality Control Point you chose before will allow you to take a picture.
