Конфигурация
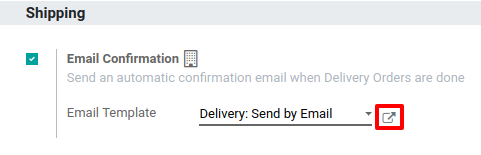
First, go to the Inventory app, then to Settings and activate the Email Confirmation feature. If you work in multi-company, this configuration is company-specific.

When you enable this feature, Odoo automatically creates an email template. Of course, you can modify it if necessary by clicking on the small arrow next to its name.
Send email at delivery validation
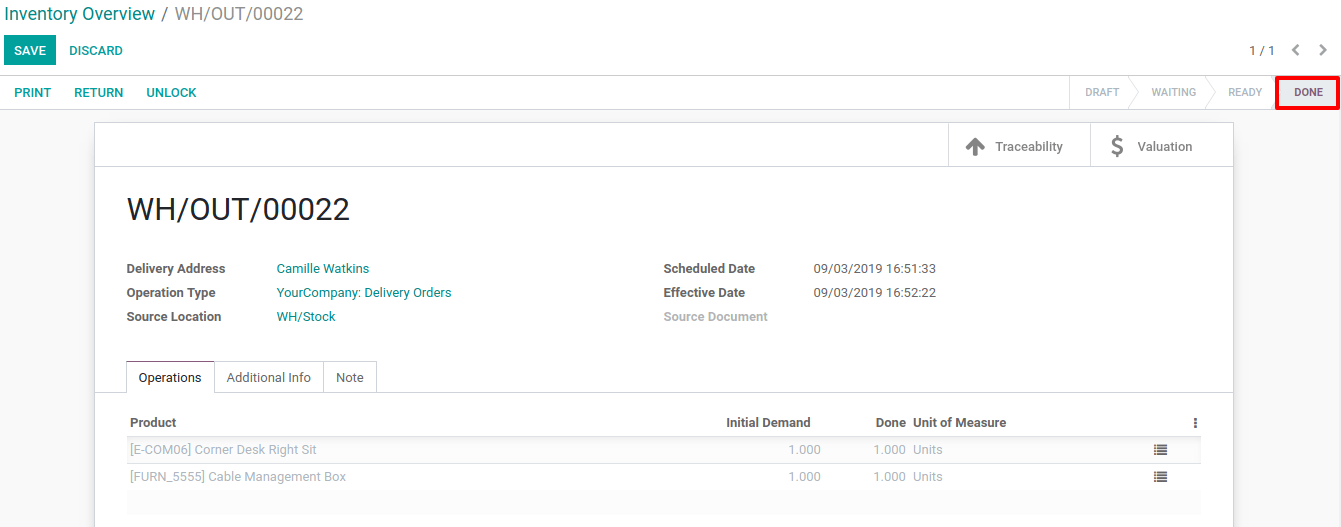
On the inventory dashboard, click on Create and fill the form for a specific partner. Once you have added some products in it, Validate it and do the same for the delivery.
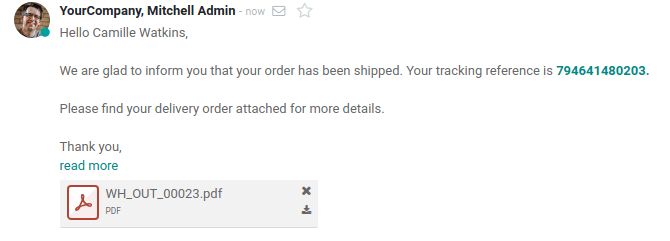
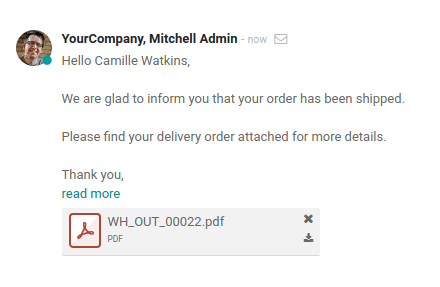
Doing so, an automated email will be sent and will appear in the chatter.
If you work with a shipping method, and then have a tracking link, it will be included in the standard email template.