Общая информация
Онлайн приложение Odoo Рабочее Место Кассира основано на простом и дружественном интерфейсе пользователя. Приложение Рабочее Место Кассира можно использовать онлайн или в автономном режиме на IPad, Android планшете или ноутбуке.
В Odoo приложение Рабочее Место Кассира полностью интегрировано с приложениями Складской учет и Бухгалтерия. Любая транзакция с вашего РМК будет автоматически зарегистрирована в управлении складом и бухгалтерских проводках, и даже в вашей CRM заказчик может быть определене из приложения.
Вы сможете запустить статистику и сбор данных в реальном времени со всех ваших магазинов без проблем связанных с интеграцией нескольких внешних приложений.
Установка Рабочего Места Кассира
Начните с установки приложения Рабочее место кассира приложение. Перейдите в :menuselection: [UNKNOWN NODE title_reference] и установите Рабочее Место Кассира.

Не забудьте установить бухгалтерский план счетов. Если этого не сделать, то перейдите в приложение Выставление счетов/Бухгалтерский учет и нажмите на Обзор существующих стран:

Затем выберите тот, который вы хотите установить.
Когда это будет сделано, тогда все будет готово, чтобы использовать данную кассу.
Добавление товаров
Для добавления продуктов из Инфо-панели РМК перейдите в :menuselection:[UNKNOWN NODE problematic]Чеки --> Продукты и нажмите на Создать.
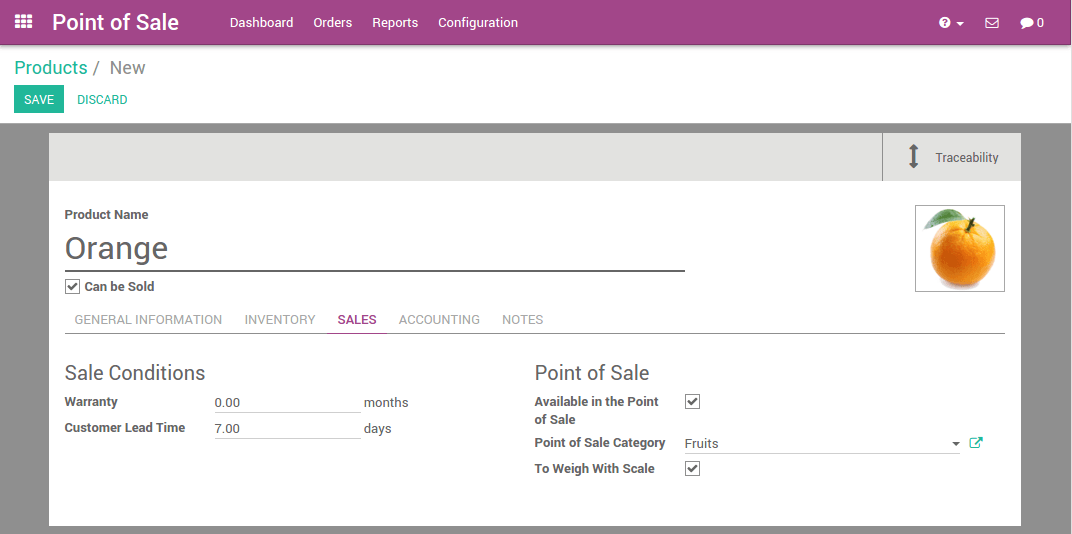
Первым примером будут апельсины с ценой 3 руб./кг. Во вкладке Продажи, вы можете увидеть конфигурации РМК. Здесь вы можете задать категорию товара, указать, что продукт должен быть взвешен или нет и гарантировать, что он будет доступна на РМК.
Таким же образом, можно добавить лимоны, тыква, красный лук, бананы... в базу данных.
Совет
Как легко управлять категориями?
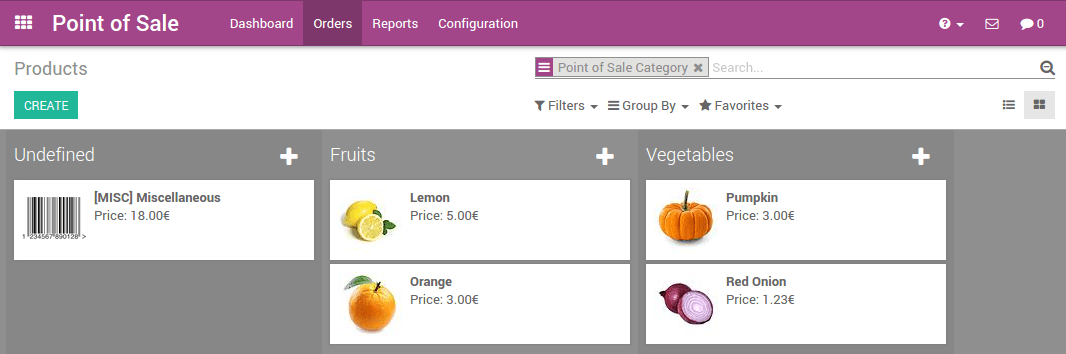
Если у вас уже есть база данных с вашими продуктами, вы можете легко установить Рабочее Место Кассира с помощью представления Канбан и группировку товаров по РМК.
Настройка способа оплаты
Чтобы настроить новый способ оплаты перейдите в и нажмите на Создать.

После того как вы создали имя и тип способа оплаты, вы можете перейти на вкладку РМК и убедиться, что этот способ оплаты был активирован для РМК.
Настройка Рабочего Места Кассира
Перейдите в , нажмите на РМК Main. Отредактируйте настройки кассы и добавьте пользовательский метод оплаты в доступные способы оплаты.

Вы можете настроить каждую кассу для вашего оборудования, местоположению,...
Allowed Pricelists
This is a technical field used for the domain of pricelist_id.
Point of Sale
An internal identification of the point of sale.
Module Pos Hr
Show employee login screen
Employees with access
If left empty, all employees can log in to the PoS session
Restaurant Floors
The restaurant floors served by this point of sale.
Orderline Notes
Allow custom notes on Orderlines.
Display Category Pictures
The product categories will be displayed with pictures.
Available PoS Product Categories
The point of sale will only display products which are within one of the selected category trees. If no category is specified, all available products will be shown
Virtual KeyBoard
Don’t turn this option on if you take orders on smartphones or tablets.
Such devices already benefit from a native keyboard.
Initial Category
The point of sale will display this product category by default. If no category is specified, all available products will be shown.
Large Scrollbars
For imprecise industrial touchscreens.
IP Address
The hostname or ip address of the hardware proxy, Will be autodetected if left empty.
Scan via Proxy
Enable barcode scanning with a remotely connected barcode scanner.
Electronic Scale
Enables Electronic Scale integration.
Print via Proxy
Bypass browser printing and prints via the hardware proxy.
Cashdrawer
Automatically open the cashdrawer.
Customer Facing Display
Show checkout to customers with a remotely-connected screen.
Other Devices
Connect devices to your PoS without an IoT Box.
Epson Printer IP
Local IP address of an Epson receipt printer.
Barcode Nomenclature
Defines what kind of barcodes are available and how they are assigned to products, customers and cashiers.
Fiscal Positions
This is useful for restaurants with onsite and take-away services that imply specific tax rates.
Default Pricelist
The pricelist used if no customer is selected or if the customer has no Sale Pricelist configured.
Available Pricelists
Make several pricelists available in the Point of Sale. You can also apply a pricelist to specific customers from their contact form (in Sales tab). To be valid, this pricelist must be listed here as an available pricelist. Otherwise the default pricelist will apply.
Restrict Price Modifications to Managers
Only users with Manager access rights for PoS app can modify the product prices on orders.
Cash Control
Check the amount of the cashbox at opening and closing.
Amount Authorized Difference
This field depicts the maximum difference allowed between the ending balance and the theoretical cash when closing a session, for non-POS managers. If this maximum is reached, the user will have an error message at the closing of his session saying that he needs to contact his manager.
Prefill Cash Payment
The payment input will behave similarily to bank payment input, and will be prefilled with the exact due amount.
Tip Product
This product is used as reference on customer receipts.
Order IDs Sequence
This sequence is automatically created by Odoo but you can change it to customize the reference numbers of your orders.
Receipt Header
A short text that will be inserted as a header in the printed receipt.
Receipt Footer
A short text that will be inserted as a footer in the printed receipt.
Automatic Receipt Printing
The receipt will automatically be printed at the end of each order.
Skip Preview Screen
The receipt screen will be skipped if the receipt can be printed automatically.
Bill Printing
Allows to print the Bill before payment.
Bill Splitting
Enables Bill Splitting in the Point of Sale.
Invoicing
Enables invoice generation from the Point of Sale.
Invoice Journal
Accounting journal used to create invoices.
Sales Journal
Accounting journal used to post sales entries.
Sales Team
This Point of sale's sales will be related to this Sales Team.
Теперь вы готовы сделать свой первый шаг с вашей кассой.
Ваши первые шаги на Рабочем Месте Кассира
Ваш первый чек
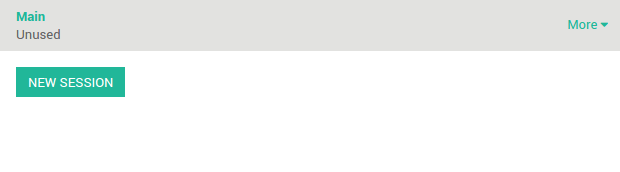
На инфо-панели, вы можете увидеть ваши кассы, нажмите кнопку Новая смена:
Вы попадете на главный экран интерфейса кассира:
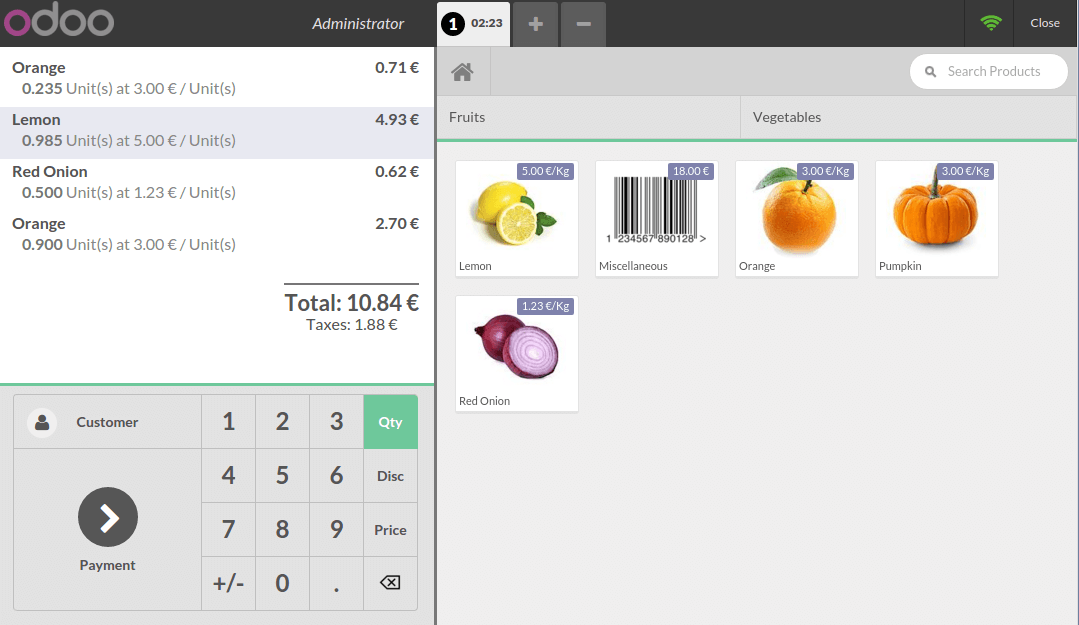
Справа вы видите список товаров с категориями на да ними. Если вы нажмете на товар, он будет добавлен в чек. Вы можете сами установить правильное количество или вес, набрав его на клавиатуре.
Оплата
После того, как заказ будет завершен, нажмите на Оплата. Вы можете выбрать способ оплаты клиентом. В этом примере, клиент должен вам 10.84 руб. и платит 20 руб. одной купюрой. Когда это сделано, нажмите Утвердить.
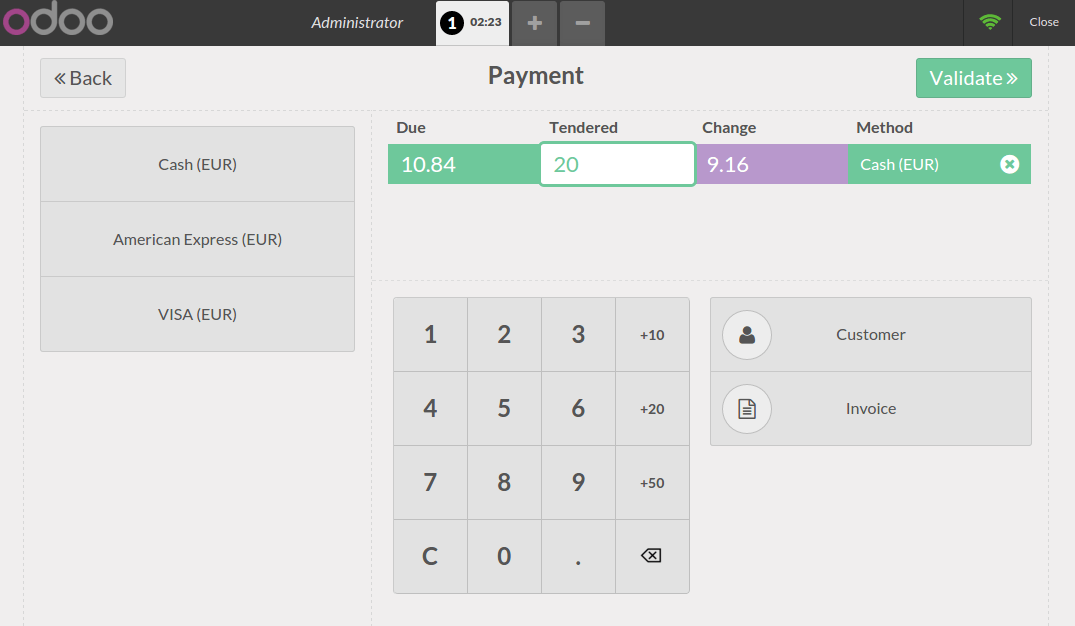
Ваш чек печатается и теперь вы готовы сделать свою вторую продажу.
Закрытие смены
В конце дня, чтобы закрыть смену, нажмите на кнопку Закрыть смену в правом верхнем углу. Снова нажмите на кнопку закрыть на кассе. На этой странице вы увидите итог операциий
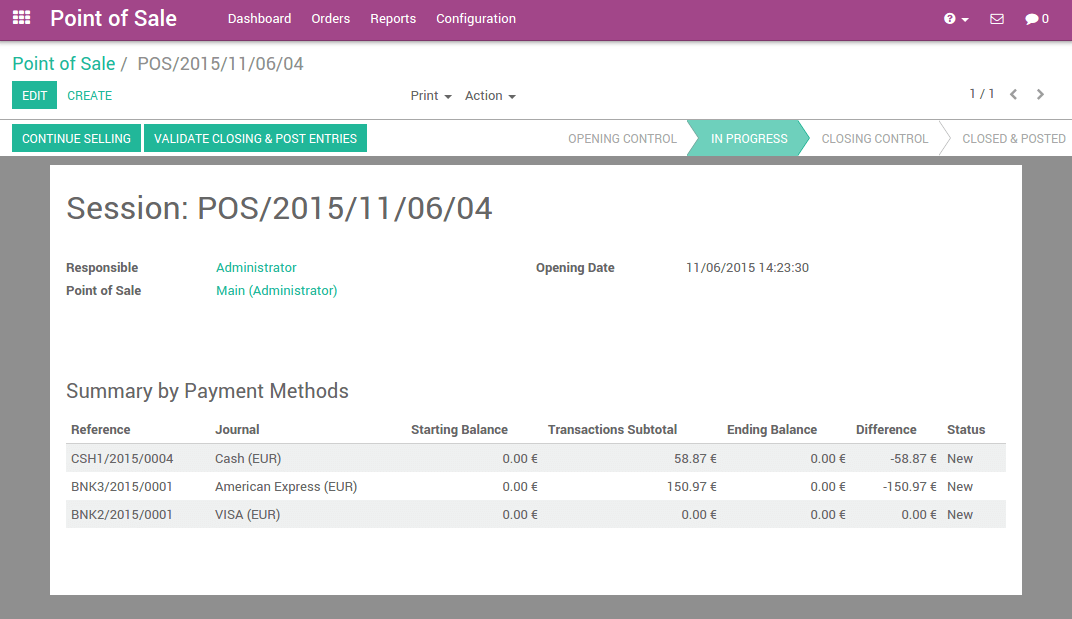
Если вы нажимаете на строку журнала способа оплаты появится список содержащий все проведенные операции по данному методу оплаты.
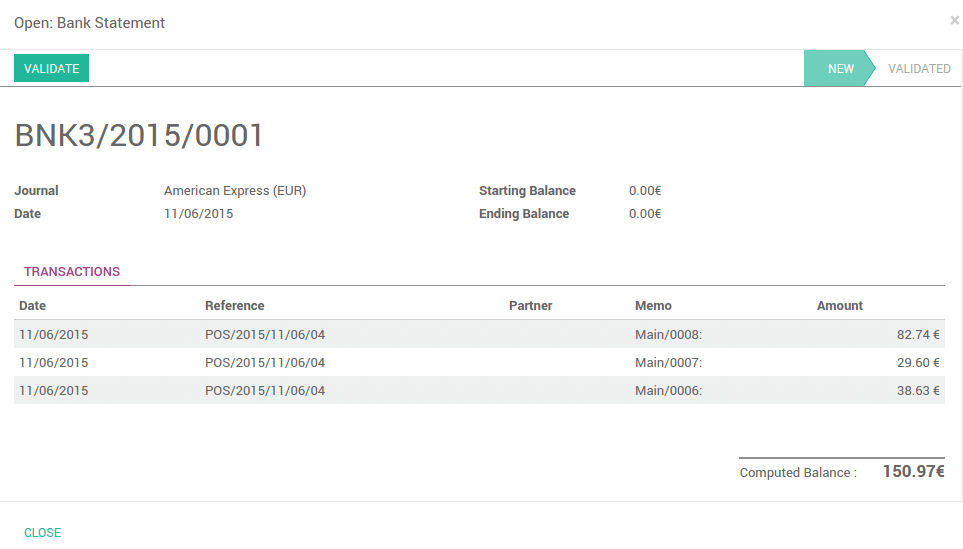
Теперь, теперь вам остается только утвердить и закрыть смену.